Dodge Journey: Assembly
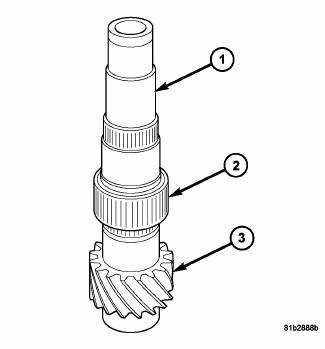
Fig. 214: First Gear Needle Bearing & Output Shaft
NOTE: Use ATF on all parts that are to be assembled in this procedure.
1. Install the first and first gear needle bearing (2) on the output shaft (1).

Fig. 215: Synchronizer
NOTE: Pay attention to the direction when inserting the 1st-2nd hub sleeve.
2. Install the 1st-2nd synchronizer onto the output shaft with (2) towards first gear.
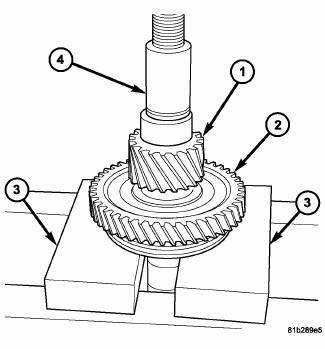
Fig. 216: First Gear & First/Second Gear Synchronizer
3. Using a press (4), install first gear (3) and first/second gear synchronizer onto output shaft.
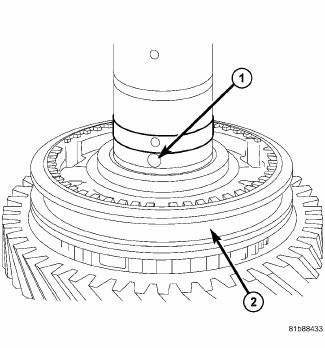
Fig. 217: Ball
4. Install the second ball (1).
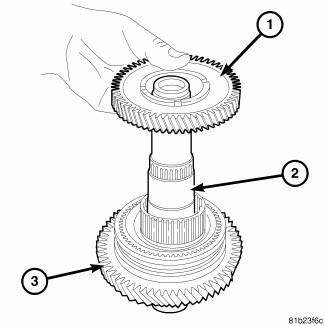
Fig. 218: Output Shaft 2nd Gear
5. Install the needle bearing on the output shaft.
6. Install second gear (1) onto output shaft (2).
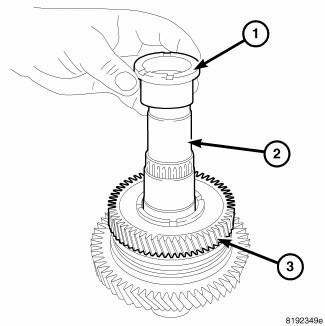
Fig. 219: Output Shaft Spacer
7. Install the inner race (1) onto the output shaft (2).
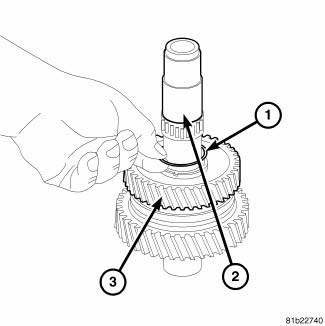
Fig. 220: Snap Ring From Output Shaft
8. Install the new C- clip (1) onto output shaft (2).
9. Install the spacer.

Fig. 221: Bearing & Output Shaft
10. Install the forth bearing (1) onto the output shaft (2).
11. Install forth gear onto output shaft.
Fig. 222: Synchronizer
NOTE: Pay attention to the direction when inserting the 1st-2nd hub sleeve.
12. Install the third/forth gear synchronizer onto the output shaft with (2) towards forth gear.
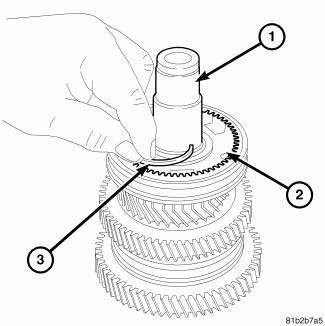
Fig. 223: Third/Fourth Gear Synchronizer
13. Using a press install third/forth gear synchronizer (2) onto output shaft (1).
NOTE: Always use the largest snap that will fit into the grove.
14. Install a new snap ring (3) to hold third/forth gear synchronizer (2) onto output shaft (1).
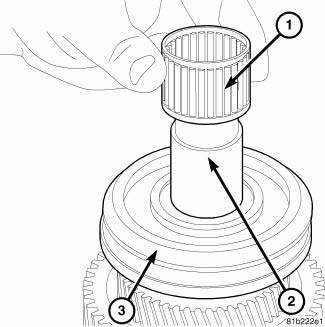
Fig. 224: Output Shaft Needle Bearing
15. Install the third needle bearing (1) onto output shaft (2).
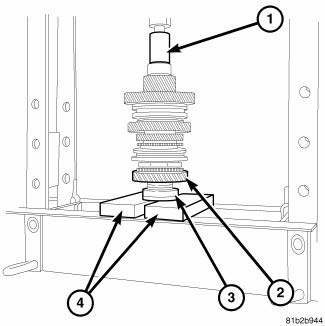
Fig. 225: 3rd Gear, Bearing & Press
16. Install third gear (2) onto output shaft.
17. Install the ball, spacer and bearing (3) using a Press (1).
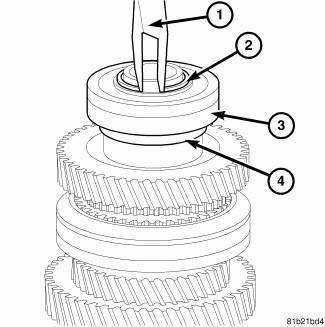
Fig. 226: Snap Ring At Output Shaft Case Bearing
NOTE: Always use the largest snap that will fit into the grove.
18. Install the new snap ring (2) from the output shaft.
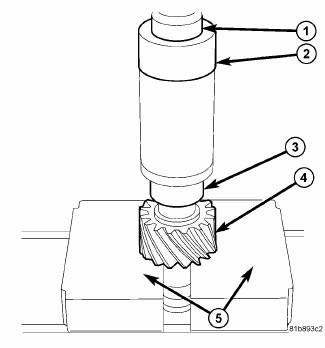
Fig. 227: Installing Cylindrical Roller Bearing Race
19. Using installer 6052 (2) and a Press (1) install the cylindrical roller bearing race (3) on the input shaft.
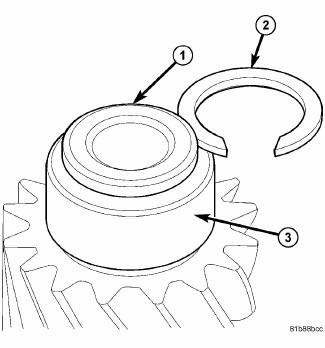
Fig. 228: Input Lower Snap Ring
20. Install the shaft snap ring (2).
 Disassembly
Fig. 200: Snap Ring At Output Shaft Case Bearing
1. Remove the snap ring (2) from the output shaft.
Fig. 201: Output Shaft Case Bearing And Gear
2. Use Bearing Splitter P-334 (3), Cage 8925-3 ( ...

See also:
Tube, exhaust gas recirculation (EGR)
Removal
2.7L - LOWER TUBE
Fig. 50: Lower Exhaust Gas Recirculation Tube - 2.7L
WARNING: The normal operating temperature of the exhaust gas
recirculate (EGR)
valve and tube is very ...
Removal
1. Raise and support the vehicle.
2. If equipped, remove the engine belly pan.
3. Remove the rear engine mount.
4. Remove the front engine mount through-bolt.
Fig. 66: Stabilizer Link Mo ...
Disassembly
Fig. 241: Tapping Down Reverse Clutch Reaction Plate
- #4 THRUST PLATE (SELECT)
- TAP DOWN REVERSE CLUTCH REACTION PLATE TO REMOVE OR INSTALL SNAP RING
- INPUT SHAFT CLUTCHES RETAINER ASSEMB ...
