Dodge Journey: Description
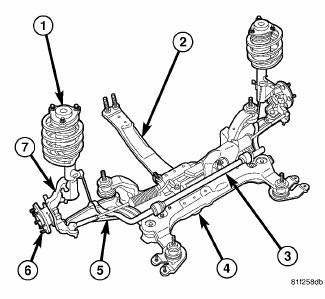
Fig. 1: Front Suspension Components
This vehicle has a gas pressurized MacPherson strut type front suspension design.
Each side of the front suspension consists of these major components:
- Strut Assembly
- Fore/Aft Crossmember
- Stabilizer Bar
- Front Suspension Crossmember
- Lower Control Arm
- Hub And Bearing
- Knuckle
Service procedures for the front suspension crossmember and fore/aft crossmember can be found in the FRAME AND BUMPERS .
WARNING
WARNINGS AND CAUTIONS
WARNING: Chrysler LLC does not manufacture any vehicles or replacement parts that contain asbestos. Aftermarket products may or may not contain asbestos. Refer to aftermarket product packaging for product information.
Whether the product contains asbestos or not, dust and dirt can accumulate on brake parts during normal use. Follow practices prescribed by appropriate regulations for the handling, processing and disposing of dust and debris.
WARNING: Do not remove the strut rod nut while strut assembly is installed in vehicle, or before the coil spring is compressed with a compression tool.
The spring is held under high pressure.
CAUTION: At no time when servicing a vehicle can a sheet metal screw, bolt, or other metal fastener be installed in the shock tower to take the place of an original plastic clip. It may come into contact with the strut or coil spring.
CAUTION: Wheel bearing damage will result if after loosening the axle hub nut, the vehicle is rolled on the ground or the weight of the vehicle is allowed to be supported by the tires for any length of time.
SPECIFICATIONS


SPECIAL TOOL
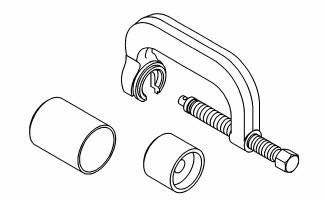
Fig. 2: Remover/Installer 8441
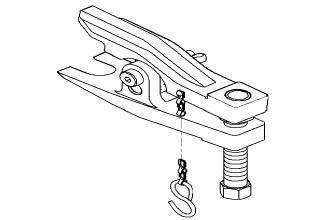
Fig. 3: Remover, Ball Joint 9360
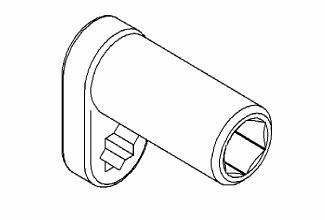
Fig. 4: Wrench, Strut Nut 9362
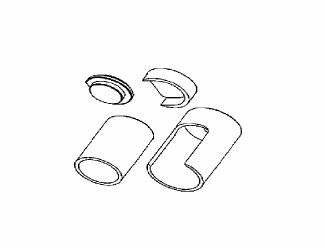
Fig. 5: Remover/Installer 9964
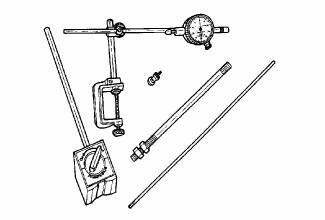
Fig. 6: Dial Indicator C-3339A
 Front
Front
...
 Arm, lower control
Diagnosis and Testing
LOWER CONTROL ARM
Inspect the lower control arm for signs of damage from contact with the
ground or road debris. If the lower
control arm shows any sign of damage, look for ...
See also:
Uconnect™ Phone — IF EQUIPPED
Refer to “Uconnect™ Phone” in the Uconnect™ User
Manual located on the DVD for further details. ...
Removal
Two unique brake lamp switches are used in this vehicle, depending upon
whether the vehicle was built during
early or late production. These switches are not interchangeable. Both switches
are il ...
Operation
The standard front and available rear heating-A/C systems used in this
vehicle are blend-air type systems. In a
blend-air system, a blend-air door controls the amount of conditioned air that
is a ...
