Dodge Journey: Switch, backup lamp
REMOVAL

Fig. 249: Back-Up Lamp Switch
1. Disconnect battery negative cable.
2. Raise vehicle on hoist.
3. Disconnect backup lamp switch connector.
4. Remove backup lamp switch (1).
INSTALLATION
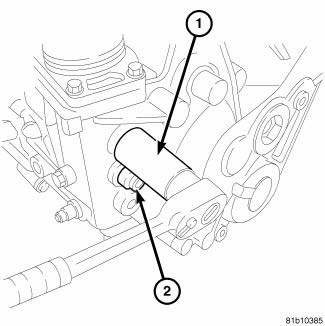
Fig. 250: Back-Up Lamp Switch
1. Install the backup lamp switch (1) with a new washer and tighten to 40 N.m (29 ft. lbs.).
2. Connect backup lamp switch connector.
3. Lower vehicle.
4. Connect battery negative cable.
 Assembly
Fig. 239: Output Shaft #2 & Needle Bearing
1. Install the reverse needle bearing (1) onto the output shaft # 2 (2).
Fig. 240: Synchronizer
NOTE: Pay attention to the direction when inser ...
 Synchronizer
DISASSEMBLY
Place synchronizer in a clean shop towel and wrap. Press on inner hub.
Carefully open up shop towel and
remove springs, balls, keys, hub, and sleeve.
CLEANING
Do not attempt to clean ...
See also:
Removal
2.4L
Fig. 45: Locating Knock Sensor
The knock sensor bolts into the side of the cylinder block in front of the
starter under the intake manifold.
1. Disconnect and isolate negative battery ca ...
Description, Diagnosis and Testing
DESCRIPTION
Fig. 38: Front Hub And Bearing Mounting
The knuckle (3) is a single casting with legs machined for attachment to the
front strut assembly on the top and
steering linkage on the trai ...
Valve, A/C expansion
DESCRIPTION
Fig. 315: A/C Expansion Valve Description KA
The rear A/C expansion valve controls the amount of refrigerant entering the
rear A/C evaporator. The rear A/C
expansion valve is of a t ...
