Dodge Journey: Valve, exhaust gas recirculation (EGR), 2.0L Diesel
Description
The EGR valve is mounted to the intake manifold.
Operation
The engines use Exhaust Gas Recirculation (EGR) systems. The EGR system reduces oxides of nitrogen (NOx) in engine exhaust and helps prevent detonation (engine knock). Under normal operating conditions, engine cylinder temperature can reach more than 1649ºC (3000ºF). Formation of NOx increases proportionally with combustion temperature. To reduce the emission of these oxides, the cylinder temperature must be lowered. The system allows a predetermined amount of hot exhaust gas to recirculate and dilute the incoming air/fuel mixture. The diluted air/fuel mixture reduces peak flame temperature during combustion.
Removal
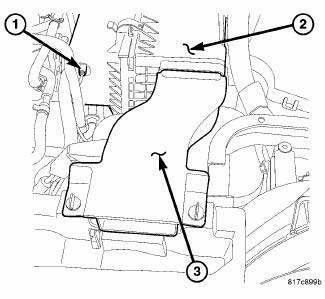
Fig. 74: Air Inlet Duct
1. Remove air inlet duct (3).
2. Disconnect negative battery cable.
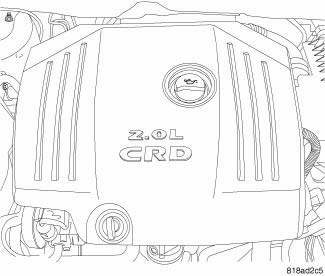
Fig. 75: ENGINE COVER-REMOVAL
3. Remove engine cover.
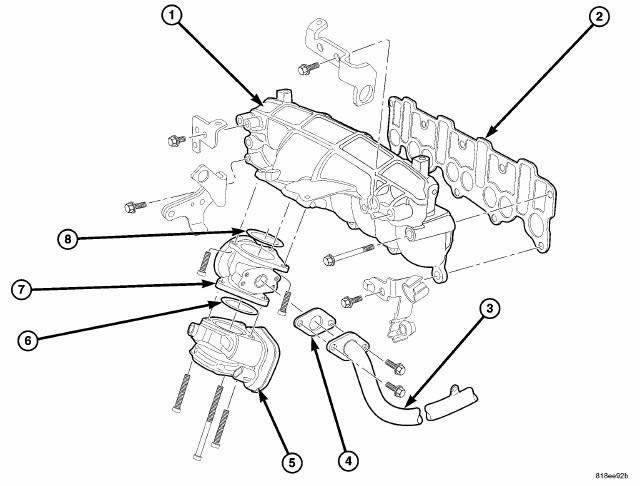
Fig. 76: Intake Manifold
4. Disconnect EGR valve vacuum line.
5. Disconnect EGR pipe (3) at EGR valve.
6. Remove air inlet tube from intake manifold flap motor (5).
7. Remove intake manifold flap motor (5).
8. Remove EGR valve retaining bolts and remove EGR valve (7).
Installation
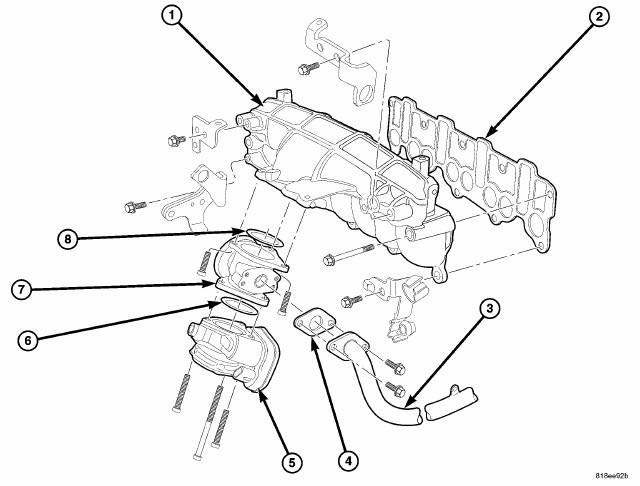
Fig. 77: Intake Manifold
1. Inspect EGR and intake manifold flap motor o-rings (6,8) for damage. Replace as necessary.
2. Install EGR valve (7) to intake manifold. Torque retaining bolts to 10.m (88 lbs.in.).
3. Install intake manifold flap motor (5) to EGR valve (7). Torque retaining bolts to 10 N.m (88 lbs.in.).
4. Inspect EGR pipe gasket (4)for damage, replace as necessary.
5. Connect EGR pipe (3) to EGR valve. Torque retaining bolts to 20N.m (177 lbs.in.).
6. Connect EGR valve vacuum line.
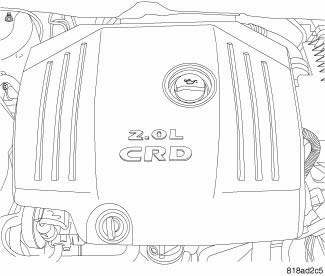
Fig. 78: Engine Cover
7. Install engine cover.
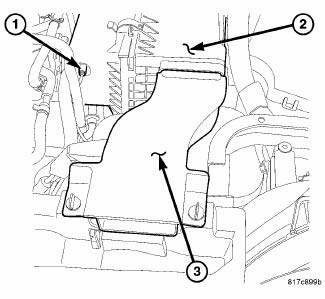
Fig. 79: Air Inlet Duct
8. Connect negative battery cable.
9. Install air inlet duct (3).
 Solenoid, exhaust gas recirculation (EGR), 2.0L Diesel
Description
Fig. 71: Exhaust Gas Recirculation (EGR) Solenoid - 2.0L Diesel
- EGR solenoid electrical connector
- EGR vacuum harness
The EGR solenoid (4) is mounted to a bracket attached t ...
 Exhaust System
...
See also:
Removal
HOUSING-AIR DISTRIBUTION
WARNING: Disable the airbag system before attempting any steering
wheel, steering
column or instrument panel component diagnosis or service. Disconnect
and i ...
Diagnosis and testing
ON-BOARD DIAGNOSTIC SYSTEM
The Powertrain Control Module (PCM) monitors critical input and output
circuits of the charging system,
making sure they are operational. A Diagnostic Trouble Code (DTC) ...
Case assembly, differential
DESCRIPTION
The differential gear system divides the torque between the axle shafts. It
allows the axle shafts to rotate at
different speeds when turning corners.
Each differential side gear is s ...
