Dodge Journey: Removal, Installation
REMOVAL
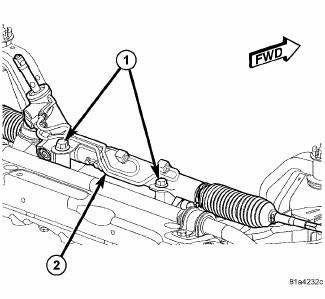
Fig. 54: Removing /Installing Propeller Shaft
CAUTION: Propeller shaft removal is a two-man operation. Never allow propeller shaft to hang from the center bearing, or while only connected to power transfer unit (PTU) or rear driveline module flanges. A helper is required. If a propshaft section is hung unsupported, damage may occur to the joint, boot, and/or center bearing from over-angulation. This may result in driveline vibrations.
NOTE: Rubber coupler is part of the propeller shaft assembly. Removing coupler from propeller shaft will result in vibration/balance issues.
1. Make sure transaxle is in neutral (N).
2. Raise vehicle on hoist.
3. Apply alignment index marks (4) on the rear axle flange (5) and rubber coupler (1).
4. Remove three rear propeller shaft rubber coupler to rear axle input flange retaining bolts (3).
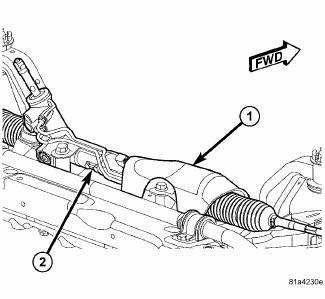
Fig. 55: Center Bracket/Heat Shield
5. Remove the bolts (3) from the center support heat shield (2).
6. Remove the heat shield (2).
7. Remove the center support mounting bolts (1).
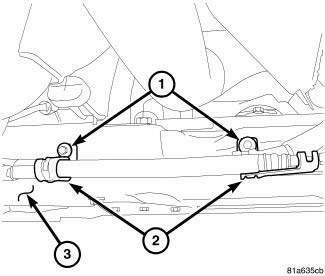
Fig. 56: Removing / Installing Propeller Shaft
8. Remove the bolts (2) at the PTU 9. Remove the propeller shaft (3).
INSTALLATION
Fig. 57: Removing / Installing Propeller Shaft
CAUTION: Propeller shaft installation. Never allow propeller shaft to hang while connected to Power Transfer Unit (PTU), rear driveline module flanges or center bearings. If propeller shaft section is hung unsupported, damage may occur to joint, boot and/or center bearing from over-angulation. This may result in vibration/balance issues. A helper may be needed.
1. Make sure transaxle is in Neutral (N) position.
2. Raise vehicle on hoist.
3. Obtain a helper if needed and lift propeller shaft assembly into position. Install propeller shaft to PTU with mounting bolts and tighten to 30 N.m (22 ft. lbs.).
Fig. 58: Removing /Installing Propeller Shaft
4. Align marks (4) on propeller shaft rubber coupler (1) to rear axle input flange (5).
5. Install three rear propeller shaft to rear axle retaining bolts (3) and tighten to 58 N.m (43 ft. lbs.).
Fig. 59: Center Bracket/Heat Shield
6. Raise the center support into position and install mounting bolts (1), tighten bolts to 41 N.m (30 lbs.ft.).
7. Install heat shield (2) and retaining nuts tighten to 21 N.m (15 ft. lbs.).
8. Lower vehicle.
 Description, Operation
DESCRIPTION
WARNING: Due to propeller shaft imbalance concerns, the propeller
shaft can only be
serviced as an assembly.
AWD models utilize a "three-piece" propeller sha ...
See also:
Tube, air pump, inlet
Description
The air pump inlet tube is located on the left side of the engine
compartment. The tube attaches to the air
injection pump using a quick connect style fitting. The other end of the tub ...
Preliminary checks
ENGINE COOLING SYSTEM OVERHEATING
Establish what driving conditions caused the complaint. Abnormal loads on the
cooling system such as the
following may be the cause:
Prolonged idle
Very hig ...
Description
Fig. 422: Identifying Torque Converter Components
- TURBINE
- IMPELLER
- HUB
- STATOR
- CONVERTER CLUTCH DISC
- DRIVE PLATE
The torque converter is a hydraulic device that couples t ...

