Dodge Journey: Removal
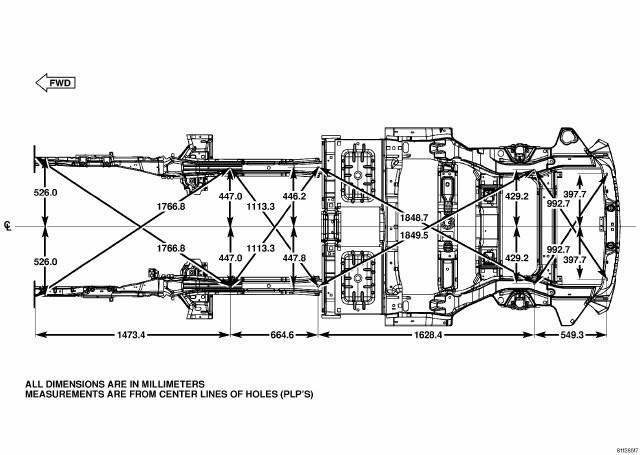
Fig. 35: Removing/Installing Halfshaft Nut
NOTE: Rear suspension and drivetrain design require this procedure to be performed on a "drive-on" hoist, as the front and rear suspension needs to be compressed to ride height to facilitate rear halfshaft removal.
1. Place vehicle on drive-on hoist in Park.
2. Remove rear wheel center cap.
3. Remove hub nut.
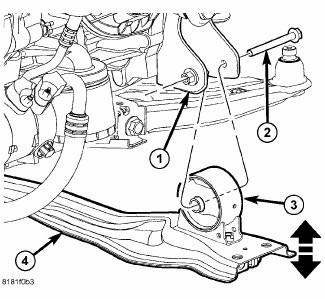
Fig. 36: Support Module With Jack
- - DRIVELINE MODULE
- - TRANSMISSION JACK
4. Raise vehicle on hoist.
5. Remove exhaust system center hanger (at propeller shaft bearing/support).
6. Disconnect exhaust system at rear-most hanger and lower.
7. Lower exhaust system at least 254 mm (10 in.). Support system with suitable wire or rope.
8. Support driveline module (1) with transmission jack (or equivalent) (2).
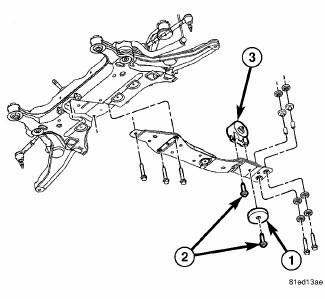
Fig. 37: Seal Protector
- - HALFSHAFT
- - SEAL PROTECTOR
NOTE: Never grasp the halfshaft assembly by the inner or outer boots doing so may damage to the boot.
9. Using suitable screwdriver, partially dislodge halfshaft (side being removed) from differential. Install Seal Protector 9099 (2) to protect seal upon disassembly.
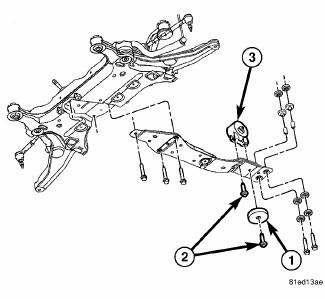
Fig. 38: Module Mounting Bolts
- - BOLT (2)
- - DRIVELINE MODULE
10. Remove two rear driveline module-to-crossmember bolts .
Fig. 39: Module Mounting Bolt
- - BOLT
- - DRIVELINE MODULE
11. Remove the remaining driveline module-to-crossmember bolt (1) .
12. Lower driveline module assembly just enough to facilitate removal of shaft from differential. Make sure Seal Protector 9099 engages seal.
13. Remove halfshaft from hub/bearing assembly.
 Description, Diagnosis and Testing
DESCRIPTION
The inner joints of both half shaft assemblies are tripod joints. The outer
joints of both assemblies are Rzeppa
Joints. The tripod joints are true constant velocity (CV) joint assembl ...
 Installation
Fig. 40: Seal Protector
- HALFSHAFT
- SEAL PROTECTOR
1. Install halfshaft to hub/bearing assembly. Install hub nut and washer but
do not tighten at this time.
2. Using Seal Protector 9 ...
See also:
VEHICLE MODIFICATIONS/ALTERATIONS
WARNING:
Any modifications or alterations to this vehicle could
seriously affect its roadworthiness and safety and
may lead to an accident resulting in serious injury or
death. ...
Horn
REMOVAL
Fig. 1: Removing / Installing Horns
1. Disconnect and isolate the negative battery cable.
2. Remove the push pin type retainers along the top of the grille assembly and
position the g ...
Sensor, exhaust temperature
REMOVAL
EXHAUST TEMPERATURE SENSOR
Fig. 44: Exhaust Temperature Sensor
- DPF TEMPERATURE SENSOR ELECTRICAL CONNECTOR
- DPF TEMPERATURE SENSOR
1. Remove engine cover.
2. Disconnect and ...
